


Most first-time hosts order a pipe and drape backdrop that’s exactly as wide as the table in front of it. Then every photo shows a sliver of exit sign or radiator at both edges. A pipe and drape backdrop is a freestanding frame (weighted bases, upright poles and horizontal crossbars) with fabric hung from the crossbars, and it should run about 2 to 3 feet past whatever stands in front of it on each side.
For height, 8 feet is the safe starting point in most rooms. Go taller only when the ceiling gives you space.
That’s the short version. The rest is what I’d tell you over coffee if you were hosting your first wedding, shower or launch party and had never touched a crossbar in your life. Once you know how the parts fit together, it’s one of the friendliest decor pieces you can work with.
What You’re Actually Renting
A pipe and drape backdrop has four main parts. Knowing their names makes every conversation with a rental company quicker.
- Bases: flat, heavy steel plates that keep everything upright.
- Uprights: the vertical poles that slot into the bases. Most are adjustable and lock at different heights.
- Crossbars, sometimes called drape supports: the horizontal bars that rest between two uprights. The fabric slides onto these.
- Drape: fabric panels with a sewn pocket along the top so they slip over the crossbar.
One section means two uprights with a crossbar between them. When you line sections up side by side, neighbors share an upright. So a backdrop built from three sections uses four uprights, four bases and three crossbars, not six of each. That’s handy to know when you’re thinking about what has to fit through a doorway or into an elevator.
Crossbars are often adjustable too, so a section isn’t locked to one width. Ask what range they extend through, because that decides how few sections you can get away with.
Sizing the Backdrop to What Stands in Front of It
Width is the number people get wrong, and it’s the one that shows up in every photo. A photographer who steps back to catch a whole table sees a wider frame than you expect, so the fabric needs to keep going after the table stops.
My rule is simple. Measure the thing in front, add 2 to 3 feet on each side, then round up to sections you can actually build.
Width is the number people get wrong, and it's the one that shows up in every photo.
Behind a sweetheart table
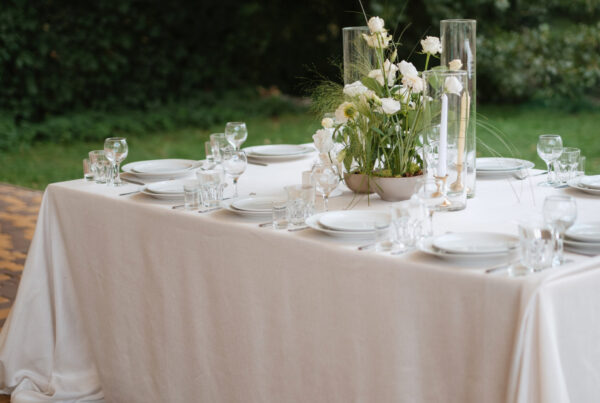
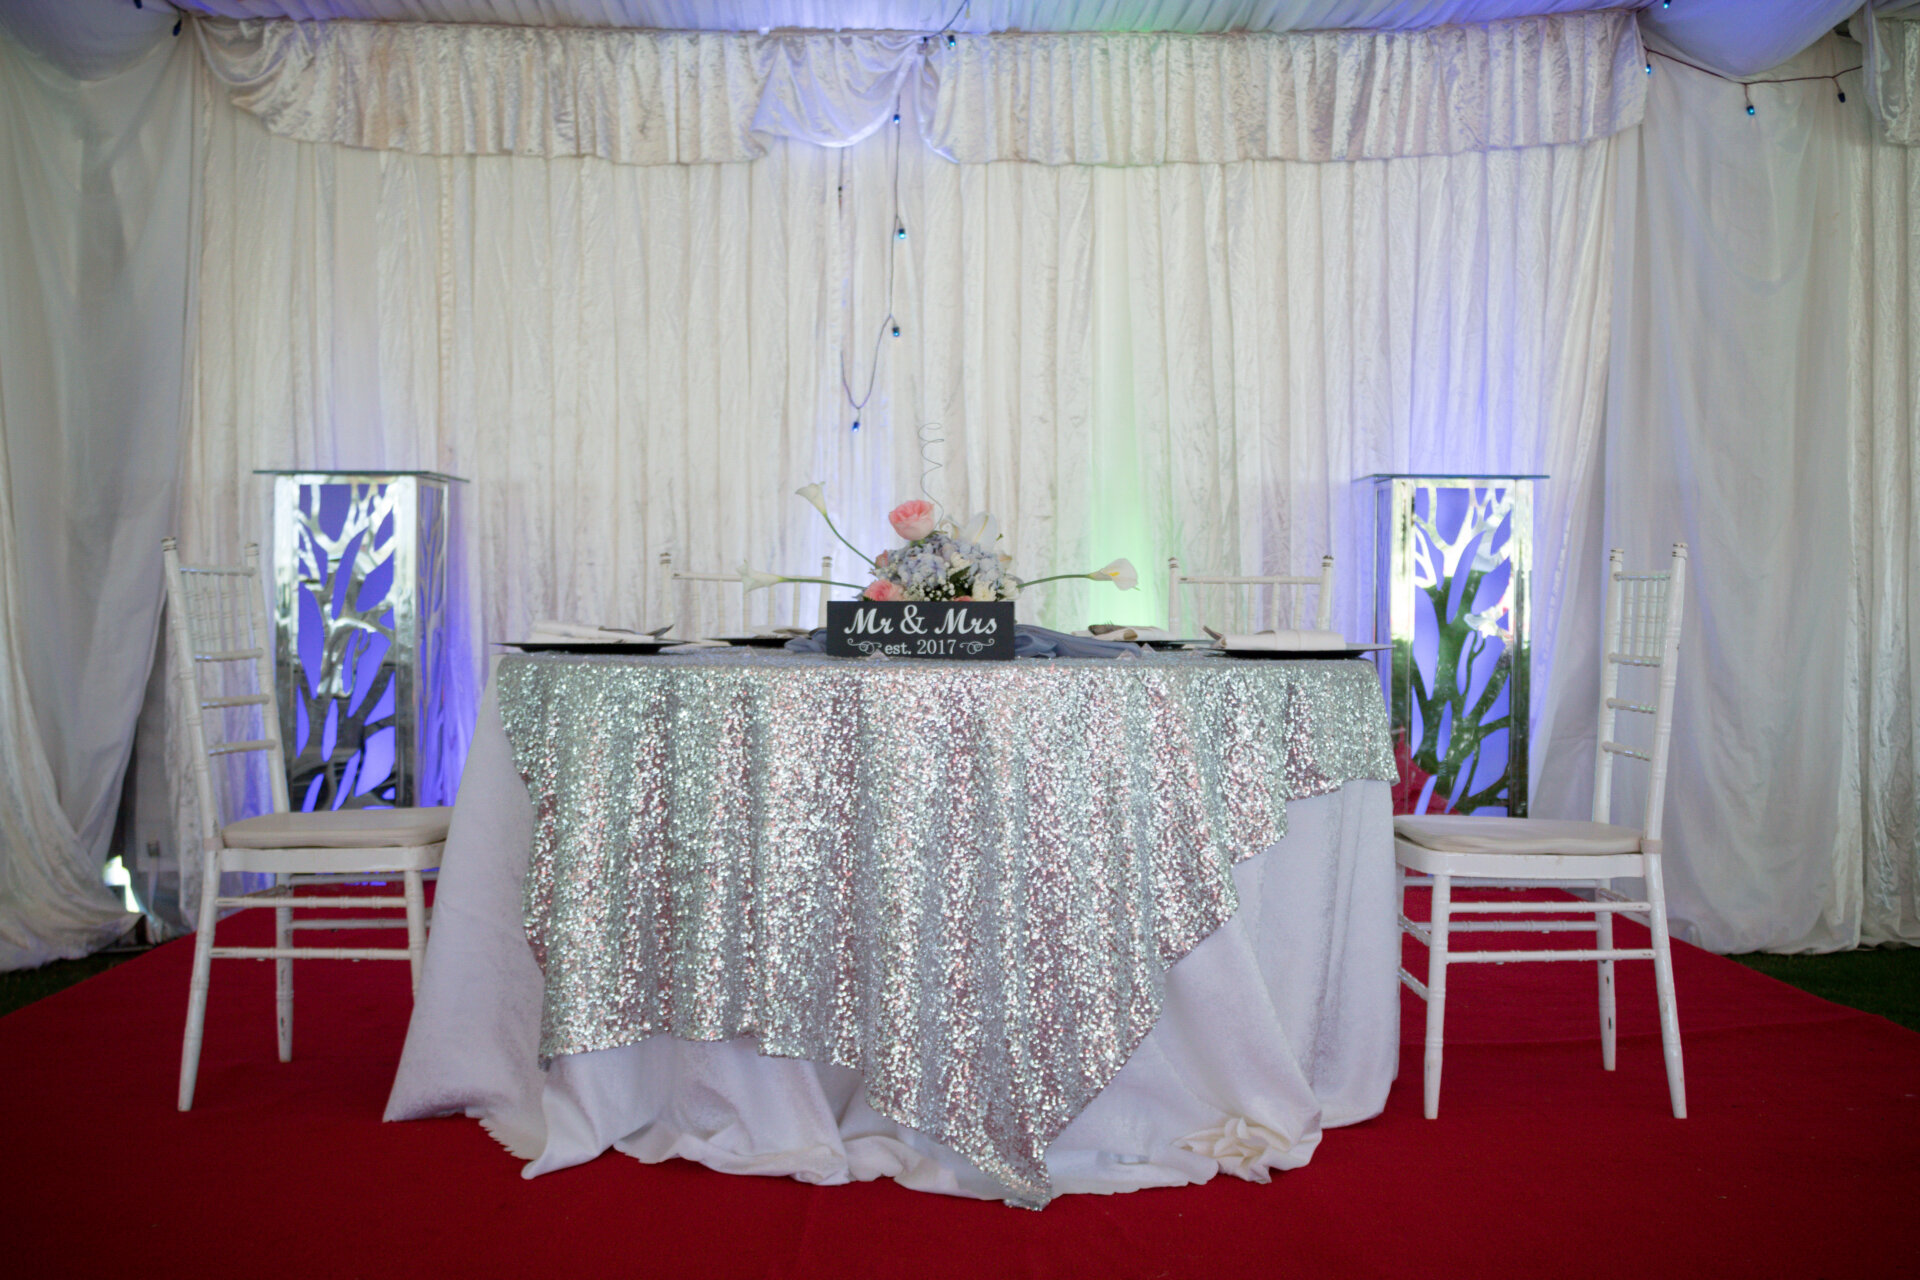
Sweetheart tables usually run 4 to 6 feet wide. A 4-foot table plus 3 feet on each side comes to 10 feet. A 6-foot table plus 2 feet per side also lands at 10 feet. One 10-foot section covers either, which is why couples so often choose it for a clean frame behind them during dinner.
Behind a long head table
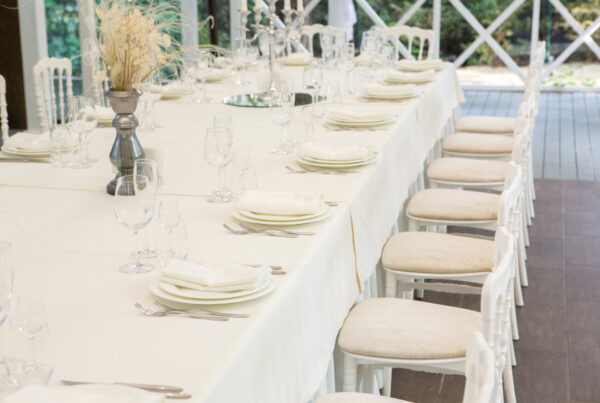
If the whole wedding party faces the room from one side, give each person roughly 2 feet along the front of the table. A party of 12 needs roughly 24 feet, which is three 8-foot banquet tables set end to end. Add 3 feet past each end and you’re at 30 feet: three 10-foot sections on four uprights.
A party of 8 needs about 16 feet, or two 8-foot tables. Add 2 feet on each side and a 20-foot run (two 10-foot sections) does the job.
Behind a dessert or gift table
A 6-foot table plus 2 feet per side gives you 10 feet, so one section. An 8-foot table needs about 12 feet, which you can build as two 6-foot sections or as a single span if your crossbar extends that far. If there’s a tall tiered cake, check that the top tier sits well below the crossbar so the cake doesn’t look like it’s bumping the ceiling of the backdrop.
For a photo wall
Allow roughly 2 feet of width per standing guest. Five people shoulder to shoulder take up about 10 feet, and with 2 feet of spare fabric on each side you need 14 feet, or two 7-foot sections. If you mostly expect couples and small groups, a single 8- to 10-foot section is plenty.
Leave a few feet of floor in front so guests can stand away from the fabric. Their shadows fall lower and nobody leans into the drape.
For a trade show booth
Many exhibit halls build booths from pipe and drape already, often with an 8-foot back wall and much lower side rails. Your exhibitor manual will spell out the exact dimensions and what you’re allowed to add, so read it before you plan anything extra.
Picking a Height That Suits the Room
Eight feet works in almost any space. It clears standing guests, frames people nicely in photos and leaves breathing room under most ceilings.
Before you settle, look up at the exact spot. Note the ceiling height, sprinkler heads, chandeliers, vents and any low soffit. You also need a little clearance above the crossbar, because someone has to lift it up and drop it onto the uprights during setup. In a party room with an 8-foot drop ceiling, a 7-foot backdrop looks intentional instead of squeezed.
Ballrooms and lofts with high ceilings can carry 10 or 12 feet, and taller drape there looks proportional rather than lost. If the backdrop stands on a platform stage, add the stage height to your math. Say the stage is 16 inches tall: an 8-foot backdrop on top puts the crossbar about 9 feet 4 inches off the floor (16 inches plus 96 inches is 112 inches).
Fabric, Fullness and Color
Fullness is how much fabric gets gathered onto each foot of crossbar, and it changes the look more than color does.
- Flat (1 times the span): 10 feet of fabric on a 10-foot bar. Smooth and taut, good behind signage or a projected logo.
- 1.5 times: 15 feet of fabric on that same bar. Soft, relaxed folds.
- 2 times: 20 feet of fabric. Deep ripples that read as formal and block light from behind better.
Drape panels come in different widths, so rather than guessing, tell your rental company the look you want and ask how many panels per section gets you there.
Opaque polyester hides whatever’s behind it. Sheer voile is airy but see-through, so a fire door or a stack of chairs back there will show. A common wedding trick is sheer white layered over a solid ivory or blush, which gives softness without the transparency. Velvet is heavy and drinks up light, and there’s more on getting a velvet backdrop right if you’re leaning that way.
Black drape is the workhorse for stages and trade shows because it disappears. For color beyond that, start from the rest of the room; our guide to choosing a color palette walks through that.
How to Build a Portable Backdrop with Pipe and Drape
If you’re doing a DIY pipe and drape backdrop, or just want to know what the crew is doing, here’s the order that works. Two people make it much easier.
- Measure your spot and mark each end of the backdrop on the floor with painter’s tape.
- Lay the bases where each upright will stand, spaced to match your crossbar length.
- Slide the uprights into the bases, set them to your final height and lock them.
- On a clean sheet on the floor, slide the drape panels onto the crossbar and spread the gathers evenly.
- With one person at each end, lift the crossbar and drop each end into the slot or hook at the top of the uprights. Use step stools for anything taller than you can reach comfortably.
- Step back and check that every upright stands straight. Fix it now, before decor goes on.
- Smooth the panels so the hems just touch the floor or puddle slightly, and hide the bases with a fold of fabric or a planter.
- Add sandbags to any base near a walkway.
Drape usually arrives folded, so a handheld steamer is your best friend for creases. Give it a pass after it’s hanging, not before.
A pipe and drape kit bought online usually comes as lighter poles in a carry bag. That’s fine for a photo corner in a living room. For a wedding or anything guests will brush past all night, heavier steel bases are worth it.
Lights, Flowers and Signs on the Frame
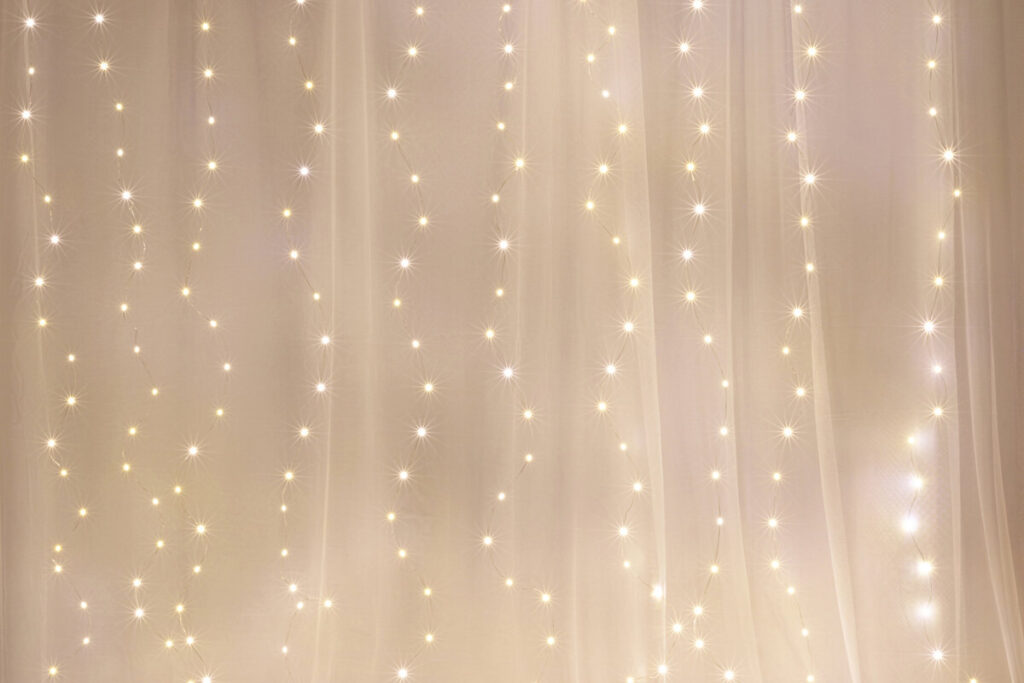
Yes, you can attach lights. LED string lights or curtain lights clip or zip-tie along the crossbar, and the cord runs down the back of an upright, taped flat to the floor. LEDs stay cool, which matters right next to fabric. Keep anything that runs hot well away from the drape. We don’t rent lighting, so line that up separately.
Weight is the thing to watch. A heavy floral garland or a big sign hung from one end can pull the frame off balance, so spread the load across the crossbar and add weight to the bases. For ideas on what to hang, our pieces on floral arrangements and personalizing your event decor have plenty. A neon name sign hangs nicely from S-hooks, and an acrylic welcome sign on an easel in front adds depth without loading the frame at all.
If you want a hard, flat surface for a large logo or a flower wall, rigid wall panels and backdrops may suit you better than fabric. Fabric moves and ripples; panels don’t.
Brooklyn Lofts, Staten Island Yards and the Sidewalk
Uprights and crossbars are long, so the route into the room matters. In a Brooklyn loft or event space, ask about the freight elevator, loading area and tight stair turns, and check with the building manager about any paperwork, such as proof of insurance, that outside vendors have to send ahead of delivery day.
Backyards bring different trouble. On a Staten Island lawn, soft or uneven grass lets bases sink and tilt, so set them on a patio, deck or flat pavers when you can. Fabric also acts like a sail. Sandbag every base outdoors, and on a genuinely gusty day, move the backdrop somewhere sheltered or skip it.
If the backdrop goes on a City sidewalk or street, say for a storefront opening in Queens, New York City treats it like putting tables or banners in public space, which requires a Street Event permit from SAPO, according to the City’s street event FAQ. Bigger builds can need more. The City notes on its street events page that structures such as tents or stage platforms over 10 feet tall may need a Department of Buildings permit. SAPO also won’t approve a permit until fees and supporting permits are received, per its permit process, so start early and confirm current requirements directly with the City.
Measure These Before You Call
A quick checklist for measuring day:
- Width of the table, stage or photo area the backdrop goes behind
- Ceiling height at that exact spot, plus any sprinklers or fixtures overhead
- Distance to the nearest outlet if you’re adding lights
- The path from the street to the room, including elevators and stairs
What to ask before you book
- What heights do the uprights adjust through, and how wide can the crossbars span?
- How many panels come per section, and what fullness does that give?
- Which fabrics and colors come in the height I need?
- Is the drape flame retardant, and can you send documentation if the venue asks?
- Is setup and pickup included, and can it fit the venue’s access window?
- If my venue needs insurance paperwork from vendors, can you send it ahead of time?
Frequently Asked Questions
Can I attach lights to a pipe and drape backdrop at a trade show booth?
Usually, yes, as long as the lights are lightweight and the hall allows it. Many exhibit halls have their own electrical rules and may require you to order power through them, so check the exhibitor manual before you pack a single string of lights.
How wide should a pipe and drape wedding backdrop be?
Take the width of what stands in front and add 2 to 3 feet per side. That’s about 10 feet for a sweetheart table and around 30 feet for a 12-person head table seated on one side.
Can a pipe and drape backdrop stand on grass?
It can, but soft ground lets the bases sink and lean. Put the bases on a hard, level surface such as pavers or a deck, and sandbag every one of them.
Is it better to buy a pipe and drape backdrop kit or rent one?
If you’ll use it often for small photo setups, a light kit can make sense. For a one-time wedding or a long run behind a head table, renting gets you heavier bases, more fabric choices and someone else handling setup and storage.
How far from the wall should the backdrop stand?
A gap of a foot or so gives you room to hide cords and any lighting behind the drape. Just make sure it doesn’t block a door, outlet or fire exit the venue needs clear.
Measure the Wall, Then Pick the Fabric
If you remember one thing, make it width: cover what’s in front, then a few feet more on each side. Get that right and even a plain ivory drape looks considered in every photo. Send us your measurements and a snapshot of the spot, and we can figure out together how many sections you need, how tall to go and which fabric suits the room.