


How do you set up a product launch event? Start with a floor plan that divides the room into zones: arrival, mingling, demo, bar, stage and back of house. Size each zone from your guest count, then build the stage and sightlines around the moment the product is revealed. Everything else, from where the coat rack goes to how many high-top tables you order, follows from those decisions.
Below is the order I work in for a launch of roughly 100 to 200 guests, with the math behind each step.
Split the Room Into Zones Before You Order Anything
A launch behaves differently from a seated dinner. Guests arrive in a wave, spread out, and then all need to turn toward one spot for 10 to 20 minutes. Each zone has one job:
- Arrival: check-in table, stanchions and coat check, with room for a line of 10 to 15 people that doesn’t block the door.
- Mingling: high-top cocktail tables, a couple of lounge pockets and open floor.
- Demo: product stations along the walls where guests can handle the product.
- Bar: set deep in the room, so the walk to the first drink passes the demo stations.
- Stage: the reveal point, ideally on the wall opposite the entrance so latecomers don’t walk in front of the presenter.
- Back of house: inventory, staff and catering, hidden from view.
Draw this to scale before you request quotes. Graph paper at one square per foot works, or ask the venue for its CAD file. Our guide on arranging tables and chairs for guest flow covers aisle spacing in more detail.
It also helps to know, at this stage, what the finished room has to pass on launch day. These are the checks I run on the walkthrough before doors open, so I design the floor plan to meet them from the start:
- Stage is level, steps are secure and railings are tight
- Product is visible from the back of the room
- Main aisles measure about 5 feet clear
- Check-in line can hold 10 to 15 people without blocking the door
- Bar is stocked and away from the stage
- Back of house is fully screened from the guest side
- Cords at demo stations are taped or hidden under linens
- Emergency exits are unobstructed
Size Each Zone From the Guest Count
Two approximate rules of thumb do most of the work. A standing, mingling crowd needs about 10 square feet per guest. Theater-style seating needs roughly 6 to 8 square feet per guest, aisles included. Seated rows pack tighter because people aren’t moving around or holding drinks.
Here’s a worked example for 150 guests, standing for the presentation:
- Mingling floor: 150 guests x 10 sq ft = 1,500 sq ft
- Stage: 16 x 8 ft = 128 sq ft
- Bar with bartender space and a short queue: about 150 sq ft
- Four demo stations at about 80 sq ft each (a 6-foot table, a presenter behind it, guests in front): 320 sq ft
- Arrival and coat check: about 150 sq ft
That totals 2,248 square feet, so plan on roughly 2,250 before back of house. If the venue’s usable floor is smaller, cut demo stations before you cut mingling space. A crowded floor kills the energy faster than a missing station does.
For high-top tables, assume about 40 percent of guests will be leaning on one at any given moment. A 30-inch high-top fits about 4 standing guests, so 150 x 0.4 = 60 guests, and 60 / 4 = 15 high-tops. Add seating for 10 to 15 percent of guests (15 to 22 chairs or bar stools) for anyone who needs to sit.
If you’d rather seat everyone for the presentation, 150 chairs at about 7 square feet each comes to 1,050 square feet. Many teams split the difference, with chairs for the front few rows and standing room behind.
Build the Stage Around the Reveal
The stage needs to keep the presenter’s chest and the product above the heads of the crowd. For a seated audience, 12 to 18 inches of height usually does it. A standing audience of 100 or more generally needs closer to 24 inches.
Stage decks commonly come in 4 by 8 foot sections, which makes sizing simple:
- 8 x 8 ft (2 decks): one presenter and a podium
- 16 x 8 ft (4 decks): presenter plus the product on a pedestal or table
- 24 x 12 ft (9 decks): a panel discussion or a product that needs a walk-around
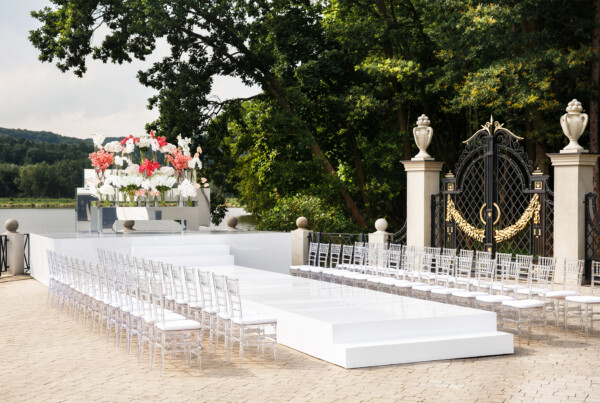
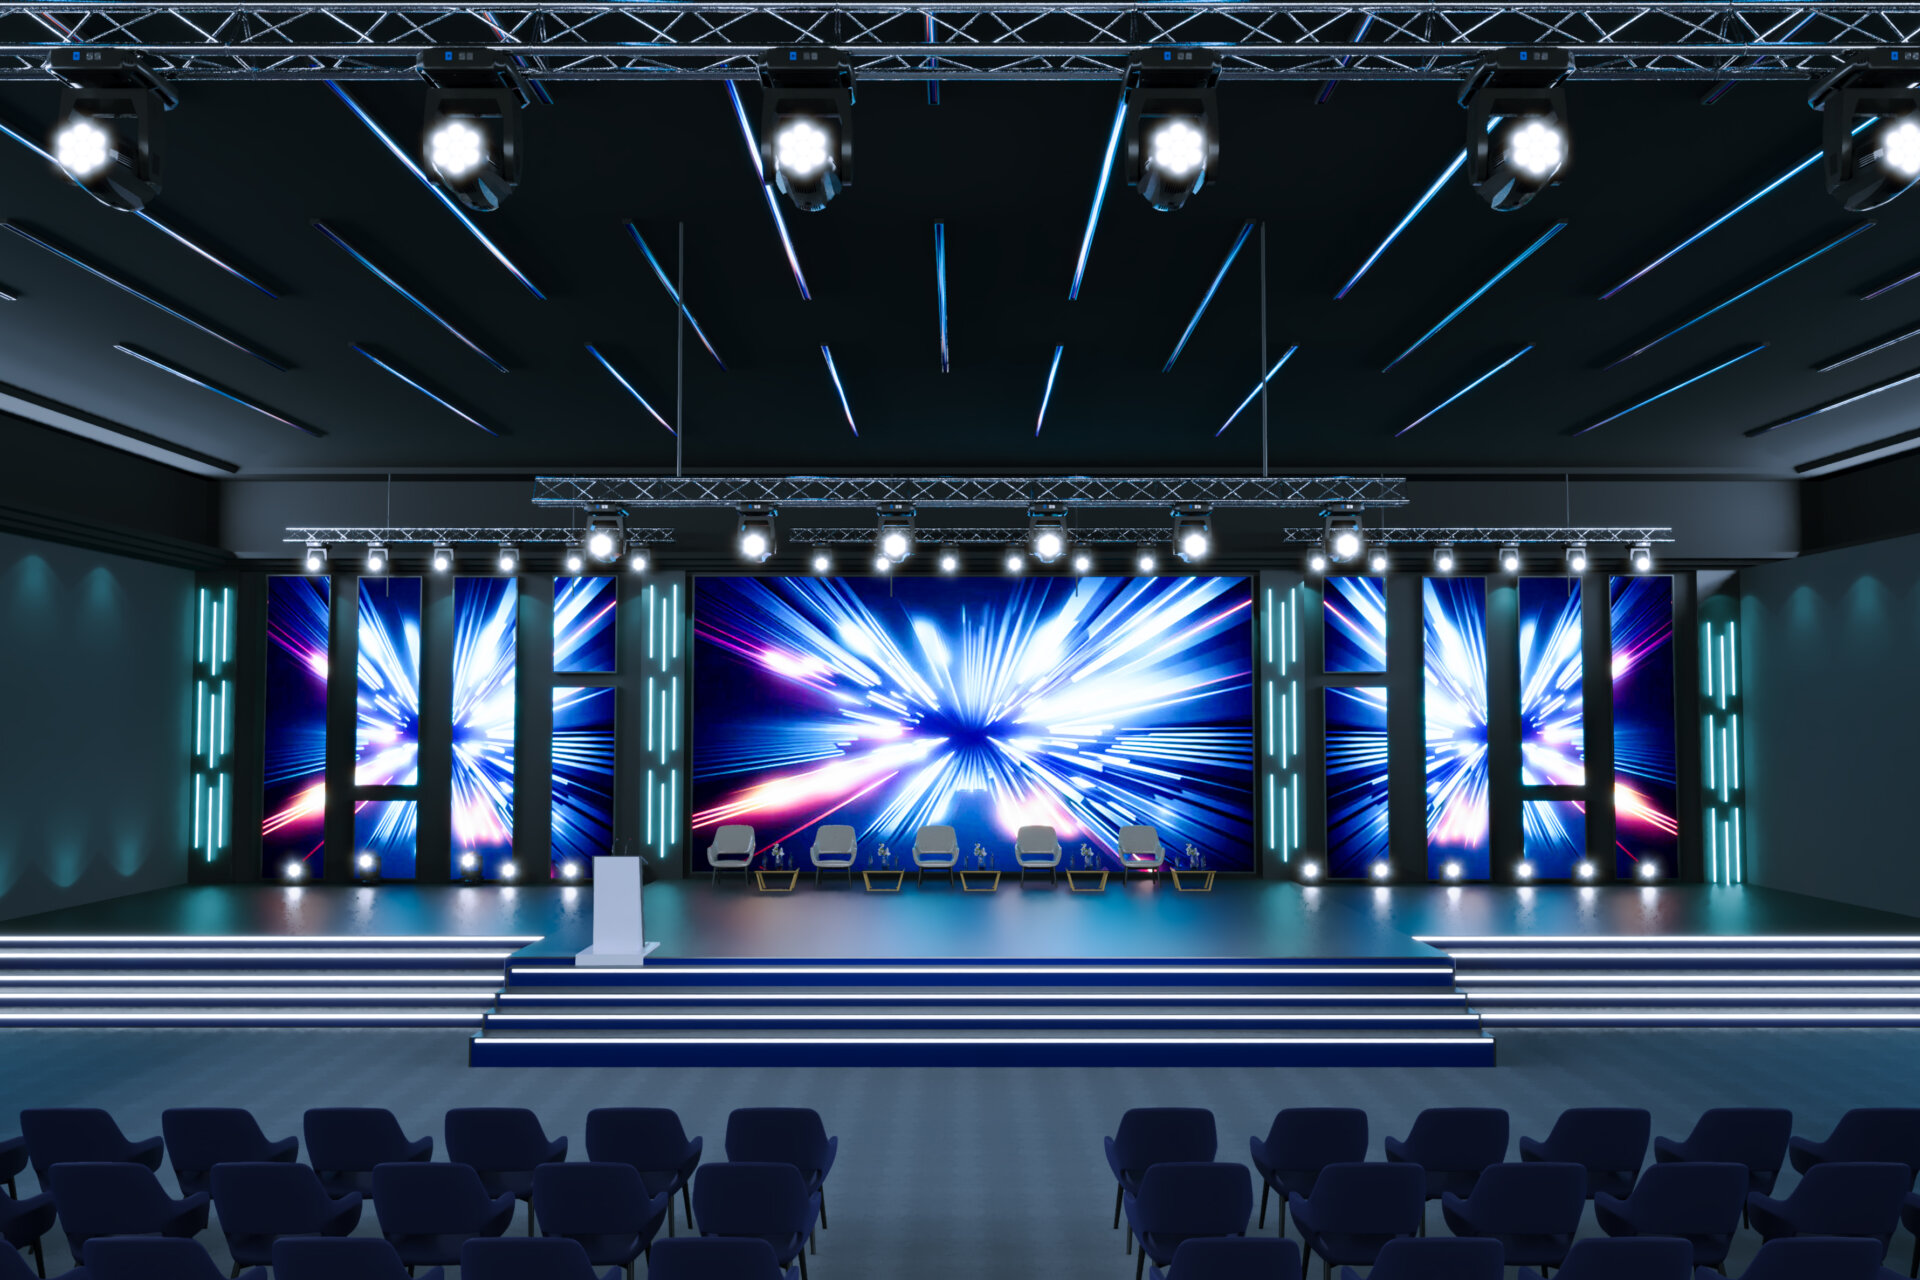
Add steps on at least one side, and railings along the back and open sides once you go higher. A platform stage with steps and rails covers most launch rooms, and our piece on portable stages for any event layout walks through placement options.
Height also has a permit side. NYC’s event permitting office notes that a stage over two feet tall can trigger a Department of Buildings permit (see the supporting permitting agencies page). Staying at or under 24 inches keeps things simpler, but confirm with the agency and your venue for your specific setup.
Behind the stage, a branded backdrop gives photographers a clean frame. Wall panels and backdrops can carry the logo and also screen the product before the reveal. Put the podium stage left, and keep easels with signage off the stage entirely so they don’t clutter photos.
Plan the Guest Path From Door to Reveal
Walk the route a guest will take and set furniture to support it, in this order:
- Red carpet and stanchions guide guests to check-in without spilling into the room.
- Coat check sits just past check-in, on the side away from the main path. For a winter launch, budget several racks and a dedicated attendant.
- The first demo station appears within a few steps of entering, so guests have something to do right away.
- Main aisles stay about 5 feet wide, with 3 to 4 feet between high-tops.
- The bar sits at the far end, which pulls the crowd forward and fills the space near the stage before the presentation starts.
About 15 minutes before the reveal, staff can gently move guests toward the stage. The bar should keep serving, so make sure it doesn’t sit directly beside the stage, where the noise competes with the presenter. For ideas on the drinks and mingling stretch, see setting up an elegant cocktail hour.
Display Shelving, Demo Tables and Back of House
A product lineup reads best on display shelving at eye level, with one hero unit on a podium or pedestal near the stage. Demo stations work well on 6-foot rectangular tables with fitted linens, which look sharper than draped ones and keep cords out of sight. If the product is food or drink, a rented refrigerator behind the scenes keeps samples ready without trips to a kitchen.
Back of house needs more room than most teams expect, since product cases, staff bags and catering supplies all end up there. Pipe and drape is the quickest way to wall it off. Leave a gap your staff can slip through without guests seeing behind it.
Launching on the Sidewalk or Street
Some brands want the launch to spill outside a storefront, say a showroom in the Meatpacking District. Putting tables, a red carpet, or stanchions on a city sidewalk or street generally requires a street event permit, according to the city’s event permitting FAQ. The application typically asks for a site plan and a run of show, so the floor plan you drew earlier does double duty. The city’s street event rules also list a $1 million insurance minimum and state that rain dates aren’t permitted, so plan a weather fallback inside. Confirm current requirements directly with the agency before you commit.
Load-In Order on Launch Day
Build from the biggest, heaviest items down to the most fragile:
- Floor protection and any dance floor or carpet
- Stage, steps, railings and backdrop panels
- Bars, back bars and display shelving
- Tables and linens
- Chairs, stools, stanchions, easels and accent pieces
- Sound and lighting from your AV vendor, once the stage is in place
- Product, placed last, with your own team on site
The stage and shelving are the bulkiest pieces, so access shapes the schedule. In a Midtown showroom, book the freight elevator and loading window early. In a warehouse space in Bushwick, ask whether there’s a loading dock or if trucks will be working from the curb.
Once the stage is built and the hero unit is on its pedestal, run one quick sightline test before the AV crew starts aiming lights:
Pro tip
Once the stage is built, have the shortest person on your team stand at the back of the mingling area and look at the product pedestal. If they can’t see its top edge over a crowd, raise the pedestal (a podium or display riser works) before you raise the whole stage.
The Walkthrough Before Doors Open
About an hour before guests arrive, walk the room with the checklist from the planning stage in hand. Start at the front door, follow the guest path to the bar, then finish at the stage and back of house. Fixing a loose railing or a cramped aisle now takes minutes; fixing it with 150 people in the room is much harder.
Bring your venue contact on this walk. They’ll know which exits the building needs kept clear and where staff can stage extra stock without it showing from the floor.
Frequently Asked Questions
How much space do you need for a product launch with 100 guests?
Plan roughly 1,000 square feet of mingling floor (100 x 10 sq ft), plus about 128 for a 16 x 8 stage, 150 for the bar, 160 for two demo stations and 100 for arrival. That comes to about 1,540 square feet before back of house.
How high should a stage be for a product launch?
About 12 to 18 inches for a seated audience and around 24 inches for a standing crowd of 100 or more. In NYC, stages over two feet can require a Department of Buildings permit, so check with the city and your venue.
Should guests sit or stand at a product launch?
Most launches keep guests standing, which keeps energy up and uses less furniture. If the presentation runs longer than 20 minutes, add chairs for the front rows and keep seating for 10 to 15 percent of guests in lounge areas.
Where should the bar go at a product launch?
Toward the back of the room, away from the entrance and not right beside the stage. That pulls guests past the demo stations and keeps the noise away from the presenter.
Start With the Floor Plan
If you have a venue, a guest count and a rough idea of the reveal, you have enough to start pricing staging, bars, tables and backdrops. Send over your floor plan or room dimensions through our contact page, and we’ll work through the pieces with you, including delivery, setup and pickup. For broader planning beyond the launch itself, our notes on hosting a successful corporate event are a good next read.